Ping pong poppers can be used in a lesson on aerodynamics and motion. They are lots of fun to make. They can be a bit fiddly, but I use this as a teaching tool for the students and ask them how they can improve upon their design.
Here are the materials needed: 1. two toilet paper rolls 2. four paper clips 3. two elastic bands (use smaller thinner ones) 4. a square piece of saran wrap 5. a ping pong
Materials to put together the ping pong popper: 1. scissors 2. masking tape
1. Take one of the toilet paper rolls and cut it vertically from top to bottom. Then, take the masking tape and tape it together smaller than it originally was. You are trying to make a smaller toilet paper roll that will fit inside another toilet paper roll.
2. Take the saran wrap and cover the top of this inside toilet paper roll; use tape to secure it into place.
Now, you have basically designed the lever or thrust of your popper. This toilet paper roll will fit inside the larger toilet paper roll. 3. Now the tricky part: secure two of the paperclips on the TOP of the larger toilet paper roll; one on each side of the toilet paper roll. Place the smaller toilet paper roll inside the larger one; then, secure two paperclips on the BOTTOM of the smaller toilet paper roll. 4. Next, take your elastic band and secure through the top paper clip on the large toilet paper roll, and through the bottom paper clip on the smaller toilet paper roll. Do this on both sides of the ping pong popper. 5. Place the ping pong at the top of the large toilet paper roll. Pull back on the inside toilet paper roll, and it should shoot out the ping pong!
Sometimes it doesn't work and you have to play around with the type of elastic bands to use; as well, students I worked with found that the saran wrap ripped, so many of them experimented by using masking tape to cover the top of the smaller toilet paper roll. Here I have doubled up on the elastic; I found that the shorter elastics worked better.Again, these are finicky, but the students found it challenging and fun to create, and then they talked about modifying their designs.Make sure that when the shoot, they do not aim at others. The ping pongs will not fly across the room, and I would say that the most they travel are about 2-5 feet. Even if they aren't successful and don't shoot that far, the students love to create something that will move a ping pong. This is a great activity for those "hands on" students that love to build and design with their hands. Good luck!
Just worked with a wonderful group of grade two's this week: for two days we explored poetry and art. I wish it was 4 days as I really could have taken this group places! What an amazing group of students. For their art project, we studied Picasso and his portraits. We discussed how he makes his portraits look different....we looked and cubism. Then we created our own portraits. The goal is to not really make them look like themselves. Often students get caught up in "I can't draw" or "it doesn't look like me" when they create self portraits.To free them up, I had them use colour and try different shapes! Their drawing/painting did not need to look like a portrait at all! They had fun with it; they created interesting shapes and backgrounds. We used a wash to resist the crayons and pastels. The final product was colourful and creative: I loved how each student had their own take on how to do a self portrait!I realized how much I miss teaching art!
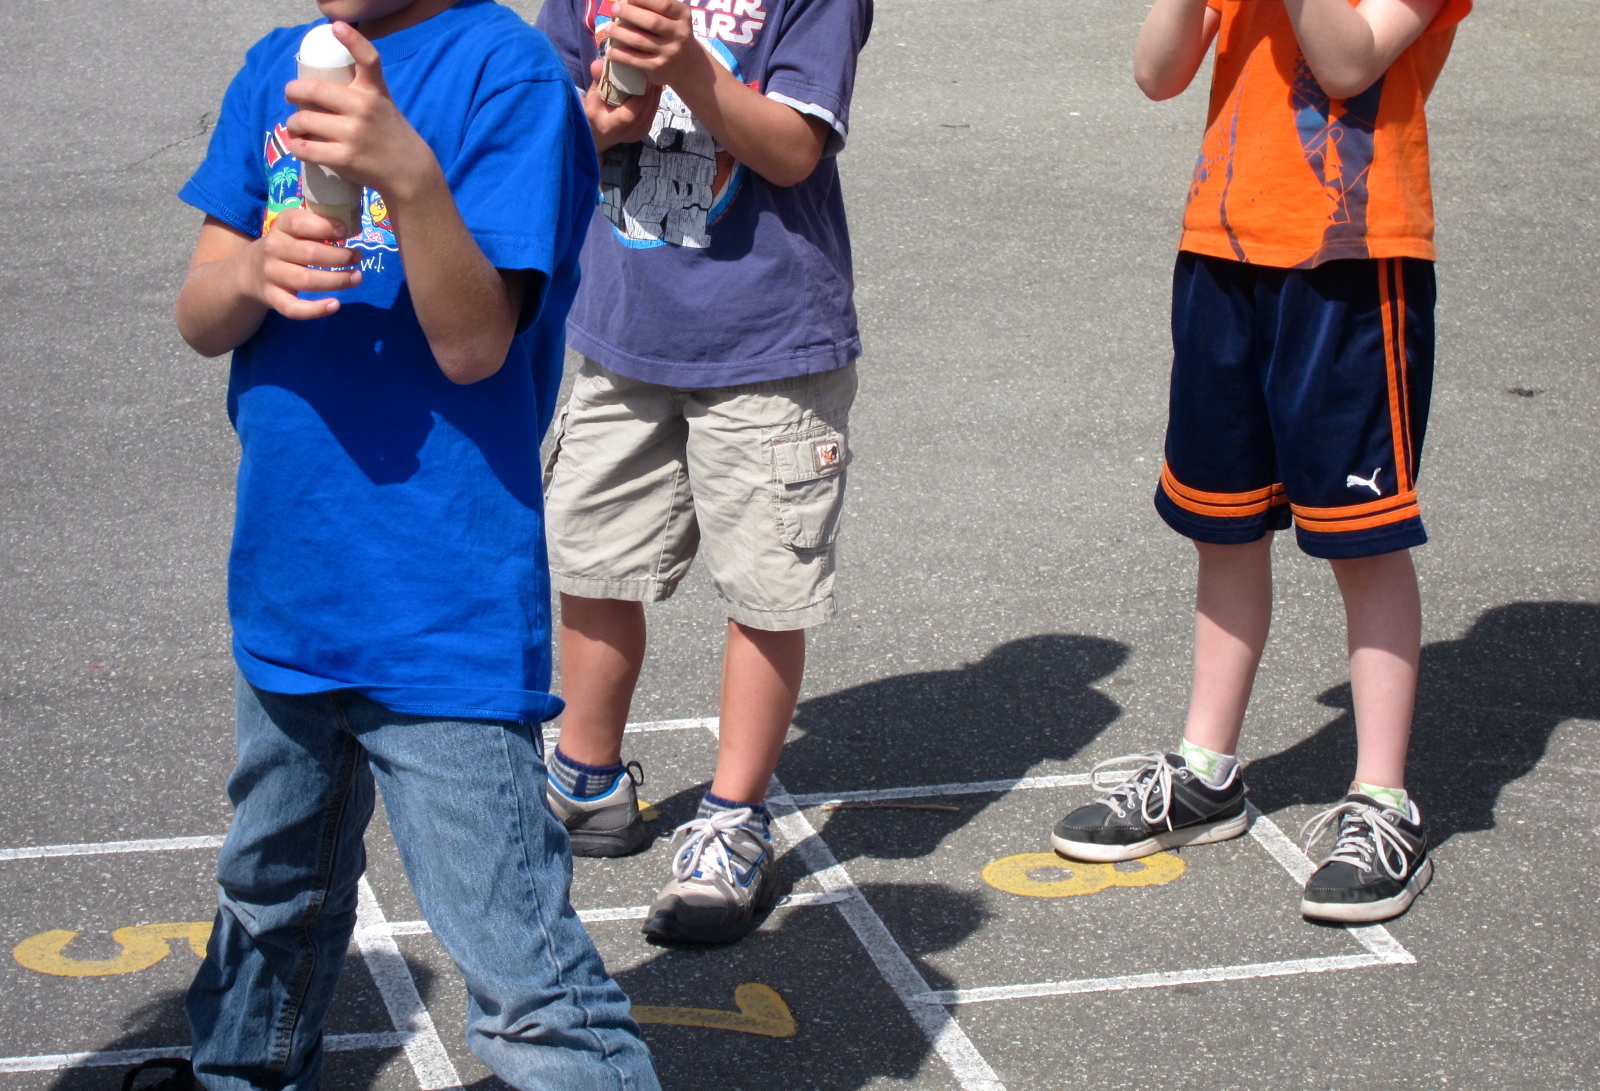
To demonstrate Newton's second law of motion, we created ping pong poppers using toilet paper rolls, elastic bands, saran wrap, and paper clips. They were hard to put together, but the students persevered and built them! The most fun was shooting them in class and seeing how far the ping pong would go! Target practice!!! Then we went outside to shoot our ping pongs and watched how far they traveled!There is nothing more exciting in school than having a ping pong ball to play with!!! Simple and elegant!
For our Gizmos and Gadgets Challenge Centre, I had the students learn about the law of gravity by designing and creating their own marble ramps. Criteria: use boxes, cards, toilet paper rolls to create their structures, where by a marble had to travel down the ramp. First, the students had to create a blueprint or design of their structure. Then, they started designing their contraptions...
The students took off: I had them use tape and scissors, but I was there to cut out any major holes or pieces of cardboard using an exacto knife. The discussions and ideas were fantastic...I heard many wonderful discussions about how they could get the marble down the ramp in an original manner. The students who worked on this design above, incorporated a bell that the marble would hit as it passed down the ramp. Inside and outside design I appreciated the originality of each design. I thought it was fascinating how they embraced this project, using their problem solving skills to figure out how to best design the marble ramp.
For our Gizmos and Gadgets Challenge
Centre, I had the students learn about the law of gravity by designing
and creating their own marble ramps. Criteria: use boxes, cards,
toilet paper rolls to create their structures, where by a marble had to travel down the ramp.
First, the students had to create a blueprint or design of their structure.
Then, they started designing their contraptions...
The students took off: I had them use tape and scissors, but I was there to cut out any major holes or pieces of cardboard using an exacto knife. The discussions and ideas were fantastic...I heard many wonderful discussions about how they could get the marble down the ramp in an original manner.
The students who worked on this design above, incorporated a bell that the marble would hit as it passed down the ramp.
Inside and outside design
I appreciated the originality of each design. I thought it was fascinating how they embraced this project, using their problem solving skills to figure out how to best design the marble ramp.